This started off as a normal post about my shop process, but as with most things in life, the outcome was a little unpredictable. In all honesty, I think I'm happy with how the ring turned out, even if it isn't what I originally wanted. Here's a little look inside my small workshop, and the process by which I make one of my
sterling silver and gemstone rings. I go into a bit of metalsmithing terminology, but I hope it will be easy enough to follow for anyone.
Sometime last week, I made a sketch of a ring for the Oregon Sunstone I ordered. Since the stone is a rounded square (cushion) shape, I wanted to make something that reflected the shape, while still playing into the "sun" motif of the gemstone.
The first part of my soldering process for the day was cutting out two identical squares and filing the corners so that they were slightly rounded. With one of the squares, I brought two pieces of hard solder to their melting point and removed the flame before they hit the flow point.
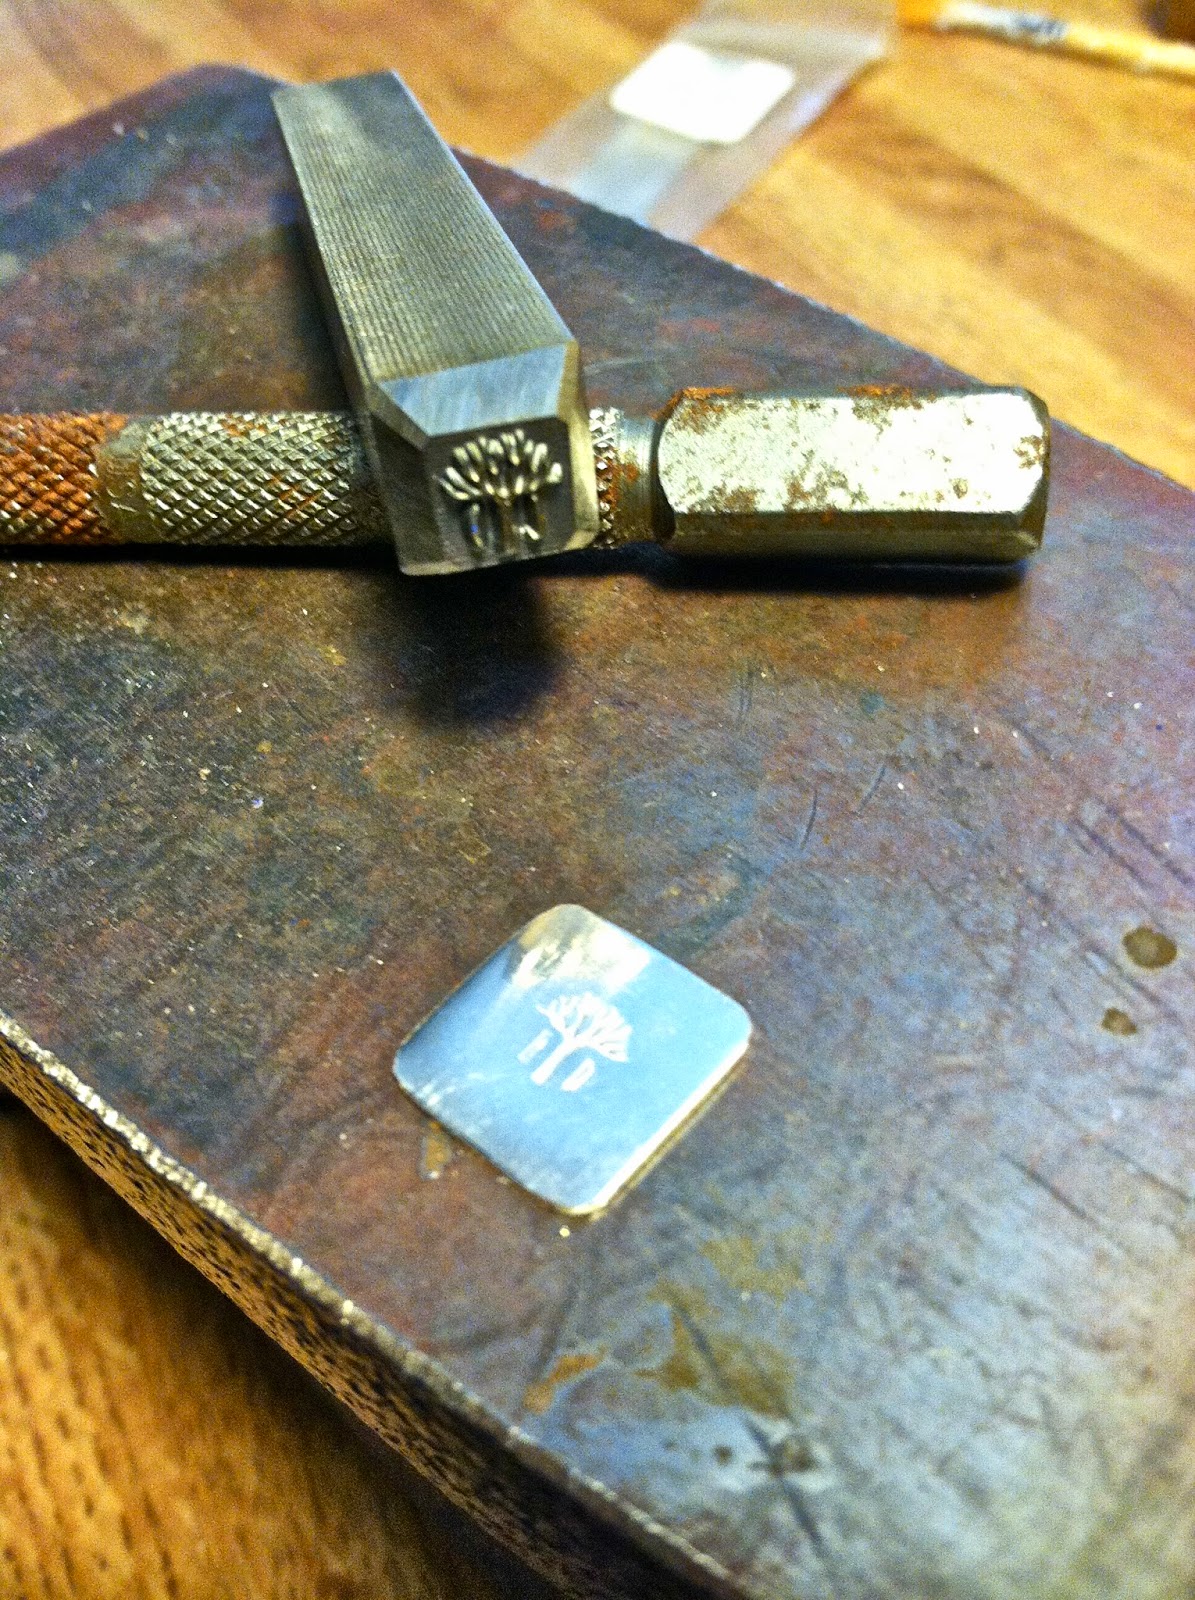
That piece was thrown in the pickle, and the other square was stamped on my anvil with my Lithic Design maker's mark:
Once the first square came out of the pickle, I layered the two squares on top of one another and sweat soldered them together before throwing them back into the pickle.
The next step was to cut a bezel strip that would be just the right size for my sunstone. I was out of 3mm bezel, so I cut a 5mm strip down instead.
Once cut and shaped to fit the stone perfectly, I soldered the bezel together using another pallion of hard solder.
Between this step and the next, I made four little silver spheres by heating pieces of wire to their melting point until they formed a ball. Balling these on my soldering board helps create a flat back which is perfect for making spheres that are going to be attached to a sheet of silver. For perfectly spherical granules you can use a ball bur to make a little round divot in a block of charcoal and melt a piece of metal in that.
The bezel I soldered was set on the two pieces of sweat soldered metal from before. Very carefully, I placed four pieces of medium solder on the outside of all four corners of the bezel. After the solder began to flow underneath all of the sides, I turned my flame off, re-fluxed, and placed a sphere on each corner of the top square. I knew that I had just enough medium solder from the previous step to melt under all of the spheres.
Next up was to form the ring band.
I've been using precut strip for any plain ring bands I make. It saves sooo much time. The last step was to solder the band to the back of the setting with easy solder.
After a pickling, I did some bristle clean up, filing, etc.-
Then the ring was finally ready to oxidize!
For my patinas, I use liver of sulfur in nugget form. I decided to oxidize before setting the stone so that I could polish the metal under the stone.
It's a bit hard to tell in the picture, but it became apparent that one of the four spheres was yellow toned, even after washing the ring and brushing the oxidation off with steel wool. I set the stone before re-evaluating the yellowish sphere, assuming that I could just polish the top layer off to a silver shine, mirroring the other three spheres. Unfortunately I couldn't, and I became increasingly frustrated with my futile efforts.
The only option I could think of was to oxidize the ring again and leave all of the spheres dark so they would match. There was no hope in removing the stone. To my dismay, everything turned black except for the one yellow sphere. At that point, it became evident that the sphere wasn't silver. I thought back to weeks ago when I was experimenting with the melting point of brass. I must have picked up one of the spheres from that day without thinking.
At that point I was totally stuck, but after calming down a bit, I realized that it actually looked pretty interesting. The contrasting brass and oxidized silver created an unexpected element to the ring that directly related to my geometric sun motif!
In the end, the ring wasn't what I wanted, but it was something unexpected and even beautiful in a way.
If you are interested in purchasing it, the
ring is for sale on my
Etsy.
-Kaley