Showing posts with label metalsmithing. Show all posts

Wednesday, August 12, 2015

On the Construction of a Copper Armillary Sphere


Apart from making jewelry for Lithic Design, I have found over the past couple years that I really love making art objects.  Astronomical and nautical instruments have always fascinated me, so I figured an armillary sphere might be the perfect Summer project. 

Armillary spheres are representations of the celestial circles around the Earth.  For instance, these spheres usually have rings like an equatorial colura (measured in degrees with rotation around the North and South axes), an equatorial (measured in degrees with rotation around the East and West axes), and an ecliptic (a western zodiac symbol ring with a 23.4 -degree offset to match the earth's tilt).  

If that all sounds like gibberish to you, you're not alone.  It took a lot of research to figure out what these things symbolized and how they moved.  In the end I still don't really have a firm grasp on most of it.  After hours of researching and sketching, I decided that art value was more important than scientific, mechanical, and historical accuracy for this piece.  I would love to continue learning about these instruments and make a functioning sphere one day, but for now I'm quite happy with how this endeavor turned out.

Here's a look into how my armillary was constructed:

Sketches of the Rings and Sphere Setting

A much fancier stand than I actually created!  Maybe I'll swap it out in the future. 
Hand drawn details for the etching process
holes drilled, all resist applied before etching in ferric chloride
Looking back at this, I really could have just used the thermos body that came with the top...It sure does keep out particles though! 
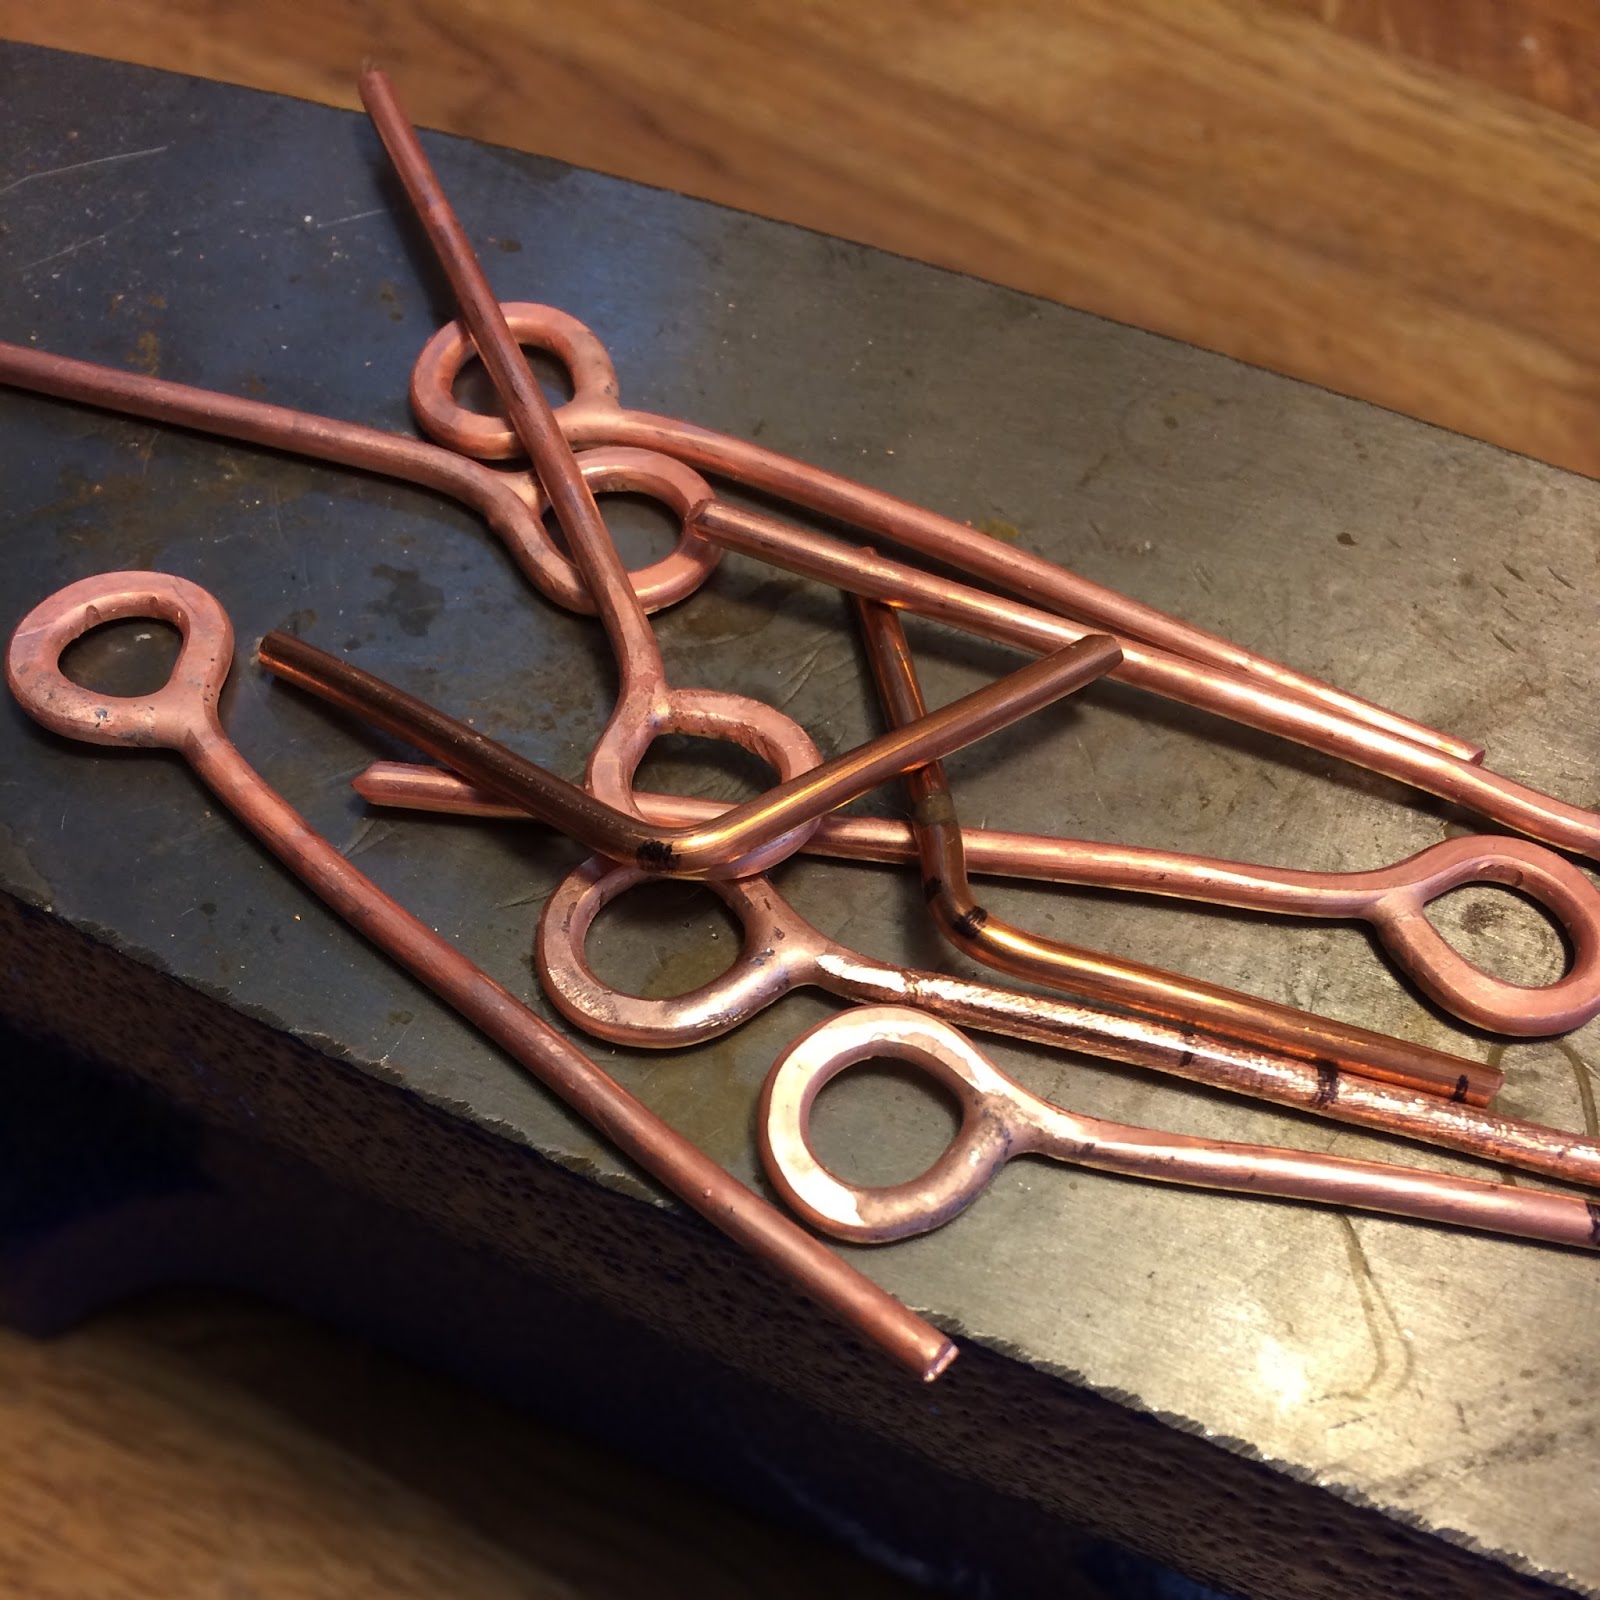
Soldered eye pins
Rings soldered together and pins starting to be soldered in place
Salt and vinegar bath to clean up the base and rings 

I honestly regret not getting a picture of the riveting process for the body and base.  It was a ridiculous two-person act.


Finally finished up after more cleaning, a patina, and final polishing.


What's next?  I'm have astrolabes and nocturnals on the mind, so either of those might be in the queue.  

- Kaley

Wednesday, December 31, 2014

A Look Back at 2014

About a year ago I started the process of rebranding my business from "Odds and Ends by Kaley" to "Lithic Design".  I couldn't be happier with that decision.  When I first started selling on Etsy in 2010, I had no idea how much I would grow as an artist, and it's nice to finally have a name that fits so well for my store.  For those who aren't familiar with the term "Lithic," it refers to anything related to rock or stone. Fitting, no?

To back up even further, I'll add that I never expected anything to come out of my metals fabrication class five years ago.  Never would I have believed that I would have the workshop I do today.  2014 really brought my bench to life with the addition of some much needed improvements and additions, like a nicer torch, fume hood, and other various tools.  I can't really convey the pride I have in my bench setup or the fact that I was able to make it happen.

I am so incredibly grateful for all of my customers, friends, and family who have encouraged me over these years.  Without you, none of this would be a possibility.  Looking into 2015, I hope to create more beautiful pieces with settings that reflect the stones they feature.

I post very infrequently on here, but there are other ways to keep track of my new work, sales, and behind the scenes pictures:

Store: Lithic Design on Etsy (lithicdesign.etsy.com)

Facebook: facebook.com/lithicdesign

Instagram: ShopLithic

A huge thanks to all of you, and a Happy New Year!

- Kaley

Various Finishing Tools

Part of my craft show setup (though I only did one this year)

Packaging Station

Polishing. Forearm game is strong.


A messy bench shot

Thursday, November 6, 2014

God of the Forest Necklace- Copper Antler and Stone

"God of the Forest" Necklace- Chrysocolla, Copper, and Silver


Sketching, Making a Stencil, and Drawing the Shape to be Cut Out by Hand
Chrysocolla-  This Stone Looks very similar to Malachite with its Banding


After Sawing out the Outline of the Antlers

All Finished- Textured, Bezel Soldered, Tumbled, Stone Set, Oxidized and Polished
 Interested in purchasing this one-of-a-kind necklace?  It's for sale at Lithic Design on Etsy!

The holidays are coming up before you know it!  Please feel free to contact me if you are interested in a custom piece.  I'll have Christmas shipping deadlines posted to my main page in my shop announcement as we get closer to the 25th of December.

- Kaley from Lithic Design

Friday, September 19, 2014

None of Your Beeswax

To take care of your drill bits, saw blades, and other tools, lubrication isn't a bad idea.  I've been using synthetic beeswax, which is incredibly cheap and seems to work just fine, but a friend of mine started beekeeping this year.  Why wouldn't take advantage of that?  I'm the sort of person who wants to try everything just for the experience, whether or not it makes sense to "DIY" time-wise.

His hive is brand new, so he gave me a big chunk of virgin honeycomb.


Chopped up honeycomb and water- kind of gross, I'll admit

Once the wax cools and the water is drained out, there's all of this junk to scrape off

The wax after a second time through on the filtration.  I'm not being too picky since I'm not using this for cosmetics.


I ended up heating the wax in the microwave and putting it in a dixie cup for the shape.

Pretty fun all in all.  It works really well too!

Wednesday, August 27, 2014

An Art Nouveau Inspired Ginkgo Crown

Recently, I've been obsessed with Art Nouveau- particularly the jewelry made by RenĂ© Lalique.  Art nouveau takes inspiration from nature and curves, and Lalique's pieces are the epitome of that idea.  His work is often over-the-top but incredibly imaginative.  Another factor that drew me into Art Nouveau is that jewelers during this time period used semi precious gemstones more and more as opposed to precious stones like diamond and emerald.  Here are a couple head ornaments by Lalique that inspired me to make one of my own:

Source: http://maries-jewels-royals.blogspot.com/2012/01/artsy-tiaras.html
Tortoise Shell and Moonstones
Source: http://www.flickr.com/photos/tonycarr/3593670232/
Peacock hair brooch with opals
While being able to cast portions of the crown would have been wonderful, I figured I could make a version of my design with simple metalworking techniques.  Ginkgo leaves were the inspiration for my tiara:


A lot of redrawing/sanding/filing is involved in achieving just the right shape of ginkgo leaf.


Hand cut and engraved...


These pieces soldered on pretty easily, but I had trouble getting the smaller pieces to adhere to the base:


Please excuse my gross soldering block...

I finally decided on two simpler pieces so that I could solder bezel cups to the front.  Here's how it turned out after oxidizing and steel wool-ing:


Not so bad!  It's much simpler than my inspiration, but simplicity is sometimes a good thing.  I used a rainbow moonstone in the middle and a labradorite cabochon on either side.  Feldspar minerals are my favorite, and they go so well with earth toned copper.  

I'll keep this one for myself as a display piece, but I might consider selling some similar pieces in the future.

Keep on the lookout for new jewelry soon at Lithic Design!

-Kaley


Friday, July 25, 2014

Making Viking Knit End Caps From Scratch

For a while now I've been wanting to try my hand at making end caps for viking knit chains.  I had the perfect custom order to try it out with, so I decided to have a go at making some plain caps.

The first step was to cut out a strip of sterling silver from 24 gauge sheet metal.  I don't own a stepped mandrel small enough to round out the caps, so I used an empty paint roller handle.  It was just the right size!


 After the seams were as even as I could make them, I hard soldered them shut.


 I let them pickle while I cut out two circles for the tops.  These were soldered on with medium solder- almost like attaching a bezel to its backing.  At this point it felt more like I was making silver bullet casings.


 After filing off the excess silver, I drilled a hole in the top of each.


 Using various flex shaft attachments, I cleaned, sanded, and polished the caps to a shine.


The bracelet turned out really well when I finally put everything together.  Fabricating end caps from scratch was definitely a good experience, but in all honesty, it's too time consuming to do on a regular basis unless I have a special project for them.

-Kaley